§2024-07-07, 2024-09-22
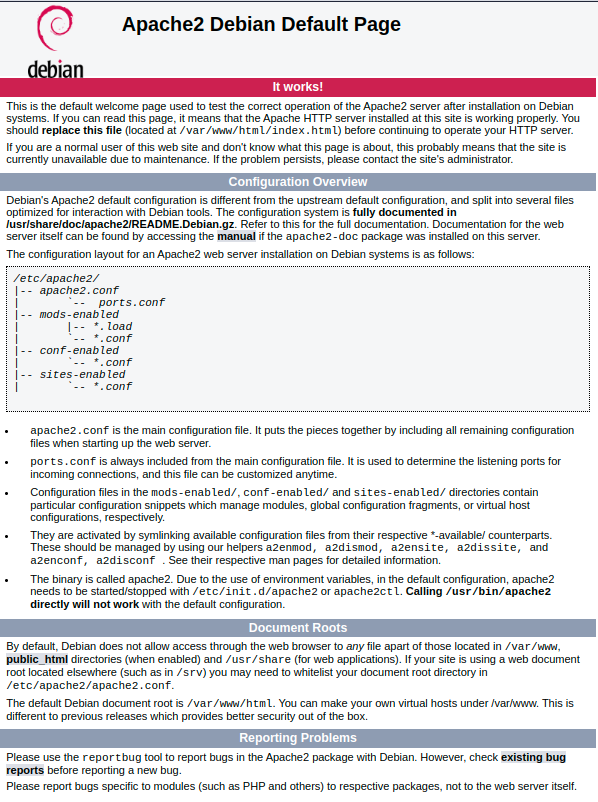
- Installing Apache2 Web Server
- user:group is www-data:www-data
$ sudo apt install apache2
$ systemctl status apache2
● apache2.service - The Apache HTTP Server
     Loaded: loaded (/lib/systemd/system/apache2.service; enabled; preset: enabled)
     Active: active (running) since Sun 2024-07-07 13:36:54 CST; 22s ago
       Docs: https://httpd.apache.org/docs/2.4/
   Main PID: 1725 (apache2)
      Tasks: 55 (limit: 3425)
     Memory: 23.4M
        CPU: 125ms
     CGroup: /system.slice/apache2.service
             ├─1725 /usr/sbin/apache2 -k start
             ├─1726 /usr/sbin/apache2 -k start
             └─1727 /usr/sbin/apache2 -k start

- Installing UFW <-- skip this step
sudo apt install ufw

$ sudo ufw status    <-- I am not familiar with ufw, make it inactive temporarily
Status: inactive
- Installing PHP
The latest Debian 12 Bookwork comes with PHP 8.2 packages by default, which is the PHP version that is recommended for installing Nextcloud.
$ sudo apt install -y php php-curl php-cli php-mysql php-gd php-common php-xml php-json php-intl php-pear php-imagick php-dev php-common php-mbstring php-zip php-soap php-bz2 php-bcmath php-gmp php-apcu libmagickcore-dev php-redis php-memcached

$ which php
/usr/bin/php
$ php --version
PHP 8.2.20 (cli) (built: Jun 17 2024 13:33:14) (NTS)
Copyright (c) The PHP Group
Zend Engine v4.2.20, Copyright (c) Zend Technologies
    with Zend OPcache v8.2.20, Copyright (c), by Zend Technologies
$ php -m
[PHP Modules]
apcu
bcmath
bz2
calendar
Core
ctype
curl
date
dom
exif
FFI
fileinfo
filter
ftp
gd
gettext
gmp
hash
iconv
igbinary
imagick
intl
json
libxml
mbstring
memcached
msgpack
mysqli
mysqlnd
openssl
pcntl
pcre
PDO
pdo_mysql
Phar
posix
random
readline
redis
Reflection
session
shmop
SimpleXML
soap
sockets
sodium
SPL
standard
sysvmsg
sysvsem
sysvshm
tokenizer
xml
xmlreader
xmlwriter
xsl
Zend OPcache
zip
zlib

[Zend Modules]
Zend OPcache
- edit PHP configuration file /etc/php/8.2/apache2/php.ini.
$ sudo cp -v /etc/php/8.2/apache2/php.ini /etc/php/8.2/apache2/php.ini.backup
$ sudo nano --linenumbers /etc/php/8.2/apache2/php.ini

$ sudo diff  /etc/php/8.2/apache2/php.ini /etc/php/8.2/apache2/php.ini.backup
226c226
< output_buffering = off
---
> output_buffering = 4096
409c409
< max_execution_time = 300
---
> max_execution_time = 30
435c435
< memory_limit = 512
---
> memory_limit = 128M
703c703
< post_max_size = 16G
---
> post_max_size = 8M
855c855
< upload_max_filesize = 16G
---
> upload_max_filesize = 2M
979c979
< date.timezone = Asia/Taipei
---
> ;date.timezone =
1786c1786
< opcache.enable=1
---
> ;opcache.enable=1
1792c1792
< opcache.memory_consumption=128
---
> ;opcache.memory_consumption=128
1795c1795
< opcache.interned_strings_buffer=8
---
> ;opcache.interned_strings_buffer=8
1799c1799
< opcache.max_accelerated_files=10000
---
> ;opcache.max_accelerated_files=10000
1817c1817
< opcache.revalidate_freq=2
---
> ;opcache.revalidate_freq=2
1824c1824
< opcache.save_comments=1
---
> ;opcache.save_comments=1
- restart apache2
sudo systemctl restart apache2
- Installing MariaDB Server
sudo apt install mariadb-server
sudo systemctl is-enabled mariadb
sudo systemctl status mariadb
- Execute the mariadb-secure-installation command to secure your MariaDB server.
sudo mariadb-secure-installation
During the process, you should input Y to agree and apply the configuration to MariaDB, or input n to disagree and leave the configuration as default. Below are some MariaDB configurations that you will be asked for:
- Press ENTER when asked for the MariaDB root password.
- Input n when asked about the unix_socket authentication method.
- Input Y to set up a new password for the MariaDB root user. Then, input the new password and repeat.
- Input Y to remove the default anonymous user from MariaDB.
- Then, input Y again to disable remote login for the MariaDB root user.
- Input Y to remove the default database test from MariaDB.
- Lastly, input Y again to reload table privileges and apply the changes.
With this, the MariaDB server is installed and secured.
$ sudo mariadb-secure-installation

NOTE: RUNNING ALL PARTS OF THIS SCRIPT IS RECOMMENDED FOR ALL MariaDB
      SERVERS IN PRODUCTION USE!  PLEASE READ EACH STEP CAREFULLY!

In order to log into MariaDB to secure it, we'll need the current
password for the root user. If you've just installed MariaDB, and
haven't set the root password yet, you should just press enter here.

Enter current password for root (enter for none):
OK, successfully used password, moving on...

Setting the root password or using the unix_socket ensures that nobody
can log into the MariaDB root user without the proper authorisation.

You already have your root account protected, so you can safely answer 'n'.

Switch to unix_socket authentication [Y/n] n
 ... skipping.

You already have your root account protected, so you can safely answer 'n'.

Change the root password? [Y/n] Y
New password: ---> b23nnnnnn
Re-enter new password:
Sorry, passwords do not match.

New password:
Re-enter new password:
Password updated successfully!
Reloading privilege tables..
 ... Success!


By default, a MariaDB installation has an anonymous user, allowing anyone
to log into MariaDB without having to have a user account created for
them.  This is intended only for testing, and to make the installation
go a bit smoother.  You should remove them before moving into a
production environment.

Remove anonymous users? [Y/n] Y
 ... Success!

Normally, root should only be allowed to connect from 'localhost'.  This
ensures that someone cannot guess at the root password from the network.

Disallow root login remotely? [Y/n] Y
 ... Success!

By default, MariaDB comes with a database named 'test' that anyone can
access.  This is also intended only for testing, and should be removed
before moving into a production environment.

Remove test database and access to it? [Y/n] Y
 - Dropping test database...
 ... Success!
 - Removing privileges on test database...
 ... Success!

Reloading the privilege tables will ensure that all changes made so far
will take effect immediately.

Reload privilege tables now? [Y/n] Y
 ... Success!

Cleaning up...

All done!  If you've completed all of the above steps, your MariaDB
installation should now be secure.

Thanks for using MariaDB!
- Creating Database and User
After installing the MariaDB server, now you will create a new database and user for Nextcloud. To achieve that, you must log in to the MariaDB server via the mariadb client.
Log in to the MariaDB server using the mariadb client command below. Input the MariaDB root password when prompted.
sudo mariadb -u root -p

CREATE DATABASE nextcloud_db;
CREATE USER nextclouduser@localhost IDENTIFIED BY 'hc4Bookworm.yushei.net#20240707';
GRANT ALL PRIVILEGES ON nextcloud_db.* TO nextclouduser@localhost;
FLUSH PRIVILEGES;
$ sudo mariadb -u root -p
Enter password: b23nnnnnn
Welcome to the MariaDB monitor.  Commands end with ; or \g.
Your MariaDB connection id is 39
Server version: 10.11.6-MariaDB-0+deb12u1 Debian 12

Copyright (c) 2000, 2018, Oracle, MariaDB Corporation Ab and others.

Type 'help;' or '\h' for help. Type '\c' to clear the current input statement.

MariaDB [(none)]> CREATE DATABASE nextcloud_db;
Query OK, 1 row affected (0.001 sec)

MariaDB [(none)]> CREATE USER nextclouduser@localhost IDENTIFIED BY 'hc4Bookworm.yushei.net#20240708';
Query OK, 0 rows affected (0.004 sec)

MariaDB [(none)]> GRANT ALL PRIVILEGES ON nextcloud_db.* TO nextclouduser@localhost;
Query OK, 0 rows affected (0.004 sec)

MariaDB [(none)]> FLUSH PRIVILEGES;
Query OK, 0 rows affected (0.001 sec)

MariaDB [(none)]> SHOW GRANTS FOR nextclouduser@localhost;
+----------------------------------------------------------------------------------------------------------------------+
| Grants for nextclouduser@localhost                                                                                   |
+----------------------------------------------------------------------------------------------------------------------+
| GRANT USAGE ON *.* TO `nextclouduser`@`localhost` IDENTIFIED BY PASSWORD '*A845CE456CDF7BCC449BF031D3EE9517FAED44B3' |
| GRANT ALL PRIVILEGES ON `nextcloud_db`.* TO `nextclouduser`@`localhost`                                              |
+----------------------------------------------------------------------------------------------------------------------+
2 rows in set (0.000 sec)

MariaDB [(none)]> quit
Bye
- Downloading Nextcloud Source Code
$ sudo apt install curl unzip -y
7.1. save apach2
$ tree  /etc/apache2 -L 1
/etc/apache2
├── apache2.conf
├── conf-available
├── conf-enabled
├── envvars
├── magic
├── mods-available
├── mods-enabled
├── ports.conf
├── sites-available
└── sites-enabled

7 directories, 4 files
$ sudo cp -v /var/www/html/index.html /var/www/html/index.html.backup
'/var/www/html/index.html' -> '/var/www/html/index.html.backup'
7.2. Download latest nextcloud source
$ cd /var/www
$ sudo curl -o nextcloud.zip https://download.nextcloud.com/server/releases/latest.zip
$ ls -al
total 237120
drwxr-xr-x  3 root root        39 Jul  7 14:45 .
drwxr-xr-x 12 root root       150 Jul  7 13:36 ..
drwxr-xr-x  2 root root        49 Jul  7 14:43 html
-rw-r--r--  1 root root 242806926 Jul  7 14:46 nextcloud.zip

$ sudo unzip nextcloud.zip
$ sudo chown -R www-data:www-data nextcloud

$ ls -l
total 237124
drwxr-xr-x  2 root     root            49 Jul  7 14:43 html
drwxr-xr-x 13 www-data www-data      4096 Jun 25 18:02 nextcloud
-rw-r--r--  1 root     root     242806926 Jul  7 14:46 nextcloud.zip
$ lsblk -f
NAME        FSTYPE FSVER LABEL UUID                                 FSAVAIL FSUSE% MOUNTPOINTS
sda
└─sda1      xfs                c30874d9-6bf4-4ed2-a20e-47bdcf551d52  220.6G     1% /var
mmcblk0
├─mmcblk0p1 ext4   1.0         9e288392-07ce-4761-bb31-81537d1413e6  852.3M     3% /boot
├─mmcblk0p2 swap   1           86b229c8-5ce5-4c54-9271-52f5ac77c702                [SWAP]
└─mmcblk0p3 ext4   1.0         89587587-e71a-4b28-9dac-1a1ae2c6a7a4   98.9G     1% /
- Apache2 virtual host configuration
sudo nano /etc/apache2/sites-available/nextcloud.conf
<VirtualHost *:48501>
    ServerName n2Bookworm.yushei.net
    DocumentRoot /var/www/nextcloud/

    # log files
    ErrorLog /var/log/apache2/n2Bookworm.yushei.net.local-error.log
    CustomLog /var/log/apache2/n2Bookworm.yushei.net.local-access.log combined

    <Directory /var/www/nextcloud/>
        Options +FollowSymlinks
        AllowOverride All

        <IfModule mod_dav.c>
            Dav off
        </IfModule>

        SetEnv HOME /var/www/nextcloud
        SetEnv HTTP_HOME /var/www/nextcloud
    </Directory>
</VirtualHost>
$ sudo a2ensite nextcloud.conf
Enabling site nextcloud.
To activate the new configuration, you need to run:
  systemctl reload apache2

alexlai@hc4Bookworm:/var/www$ ls -l /etc/apache2/sites-enabled/
total 0
lrwxrwxrwx 1 root root 35 Jul  7 13:36 000-default.conf -> ../sites-available/000-default.conf
lrwxrwxrwx 1 root root 33 Jul  7 14:59 nextcloud.conf -> ../sites-available/nextcloud.conf
alexlai@hc4Bookworm:/var/www$ sudo apachectl configtest
Syntax OK
8.2. edit /etc/apache2/ports.conf as,
# If you just change the port or add more ports here, you will likely also
# have to change the VirtualHost statement in
# /etc/apache2/sites-enabled/000-default.conf

Listen 80

Listen 48501

<IfModule ssl_module>
        Listen 443
</IfModule>

<IfModule mod_gnutls.c>
        Listen 443
</IfModule>
8.2. sudo systemctl restart apache2

- Create and admin account
- admin nextCloudAdmin, b23258585,

- donot put loaclhost:3306 as marian db, just localhost

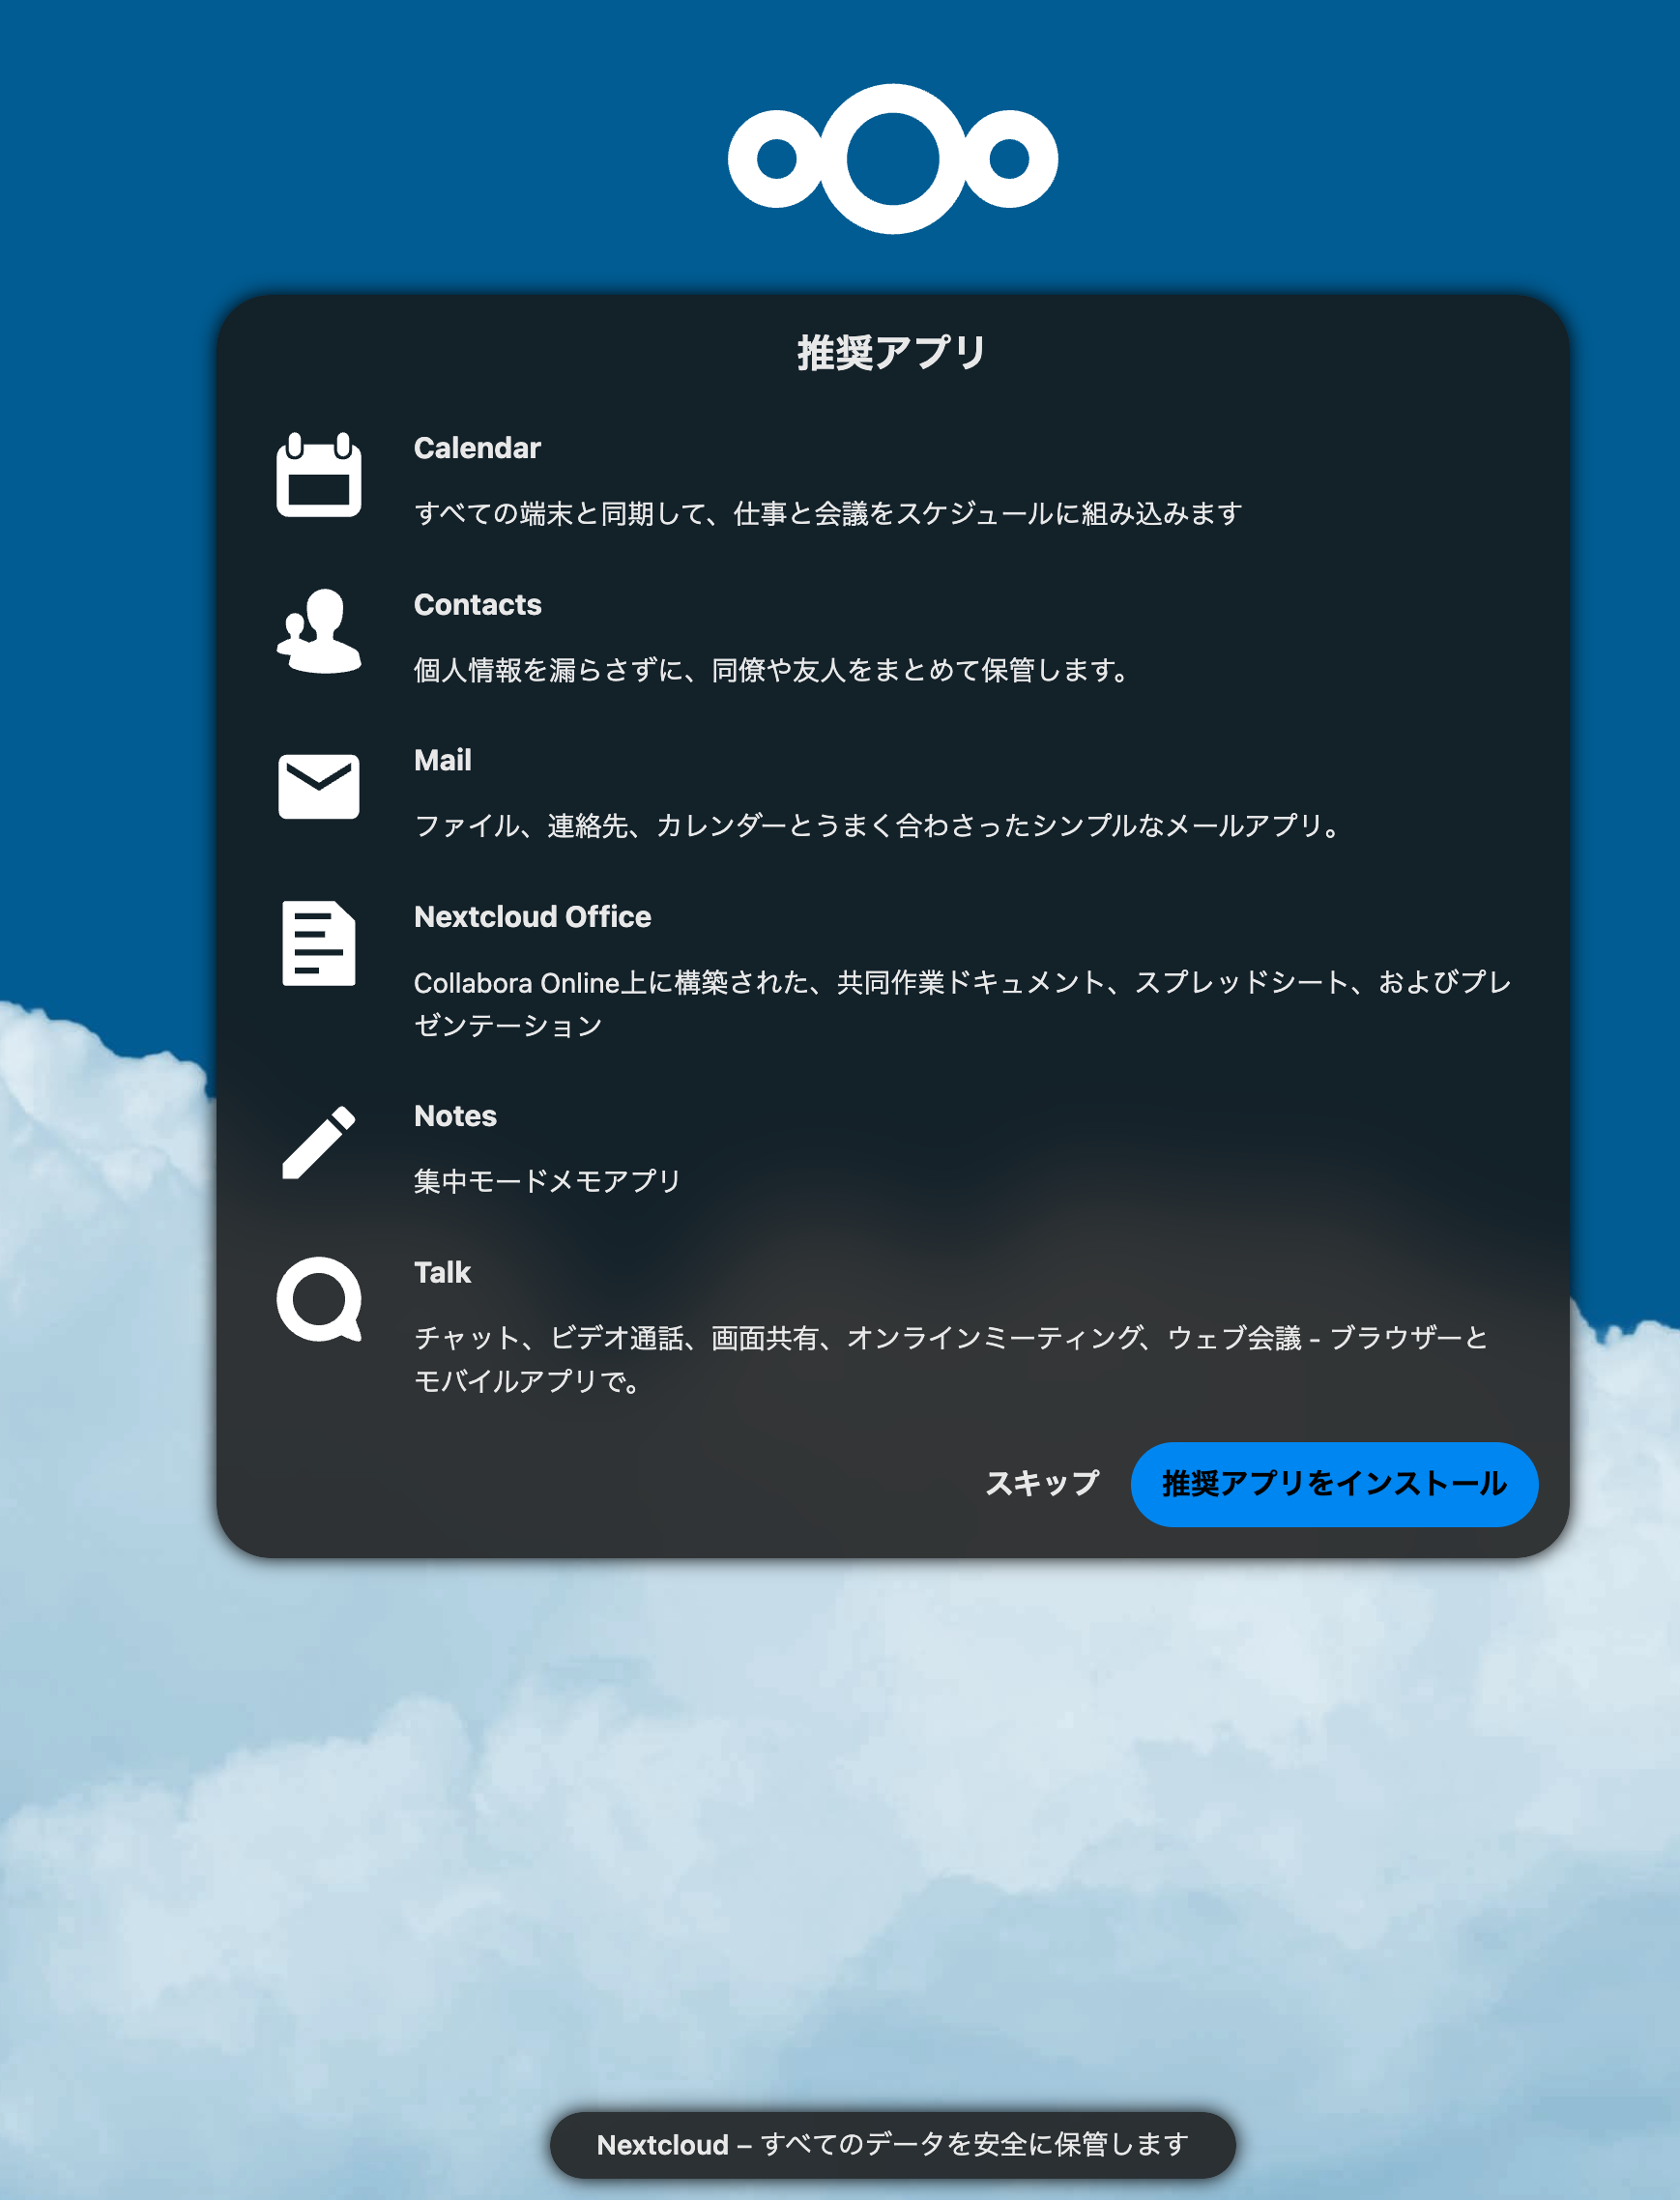
- then install recomended applications


- storage used
$ lsblk -f
NAME        FSTYPE FSVER LABEL UUID                                 FSAVAIL FSUSE% MOUNTPOINTS
sda
└─sda1      xfs                c30874d9-6bf4-4ed2-a20e-47bdcf551d52  220.5G     1% /var
mmcblk0
├─mmcblk0p1 ext4   1.0         9e288392-07ce-4761-bb31-81537d1413e6  852.3M     3% /boot
├─mmcblk0p2 swap   1           86b229c8-5ce5-4c54-9271-52f5ac77c702                [SWAP]
└─mmcblk0p3 ext4   1.0         89587587-e71a-4b28-9dac-1a1ae2c6a7a4   98.9G     1% /
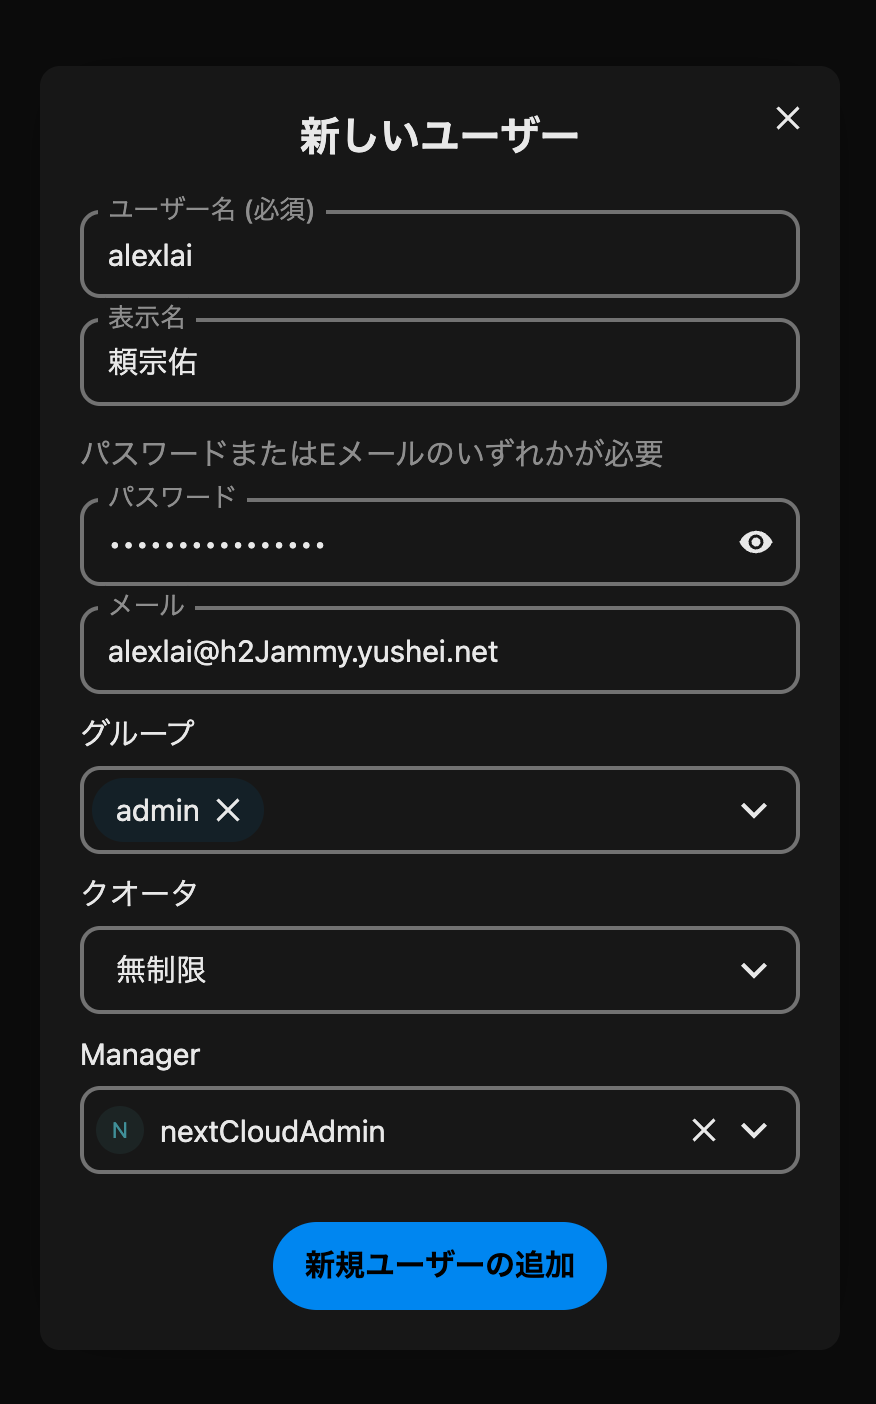
- add user

- user's data
root@hc4Bookworm:/var/www/nextcloud/data# pwd
/var/www/nextcloud/data
root@hc4Bookworm:/var/www/nextcloud/data# ls -al
total 52
drwxrwx---  6 www-data www-data   164 Jul  8 13:13 .
drwxr-xr-x 14 www-data www-data  4096 Jul  8 12:49 ..
drwxr-xr-x  7 www-data www-data    91 Jul  8 13:19 alexlai
drwxr-xr-x  8 www-data www-data    88 Jul  8 13:15 appdata_oc5kx4u32hmz
drwxr-xr-x  2 www-data www-data    27 Jul  8 12:57 files_external
-rw-r--r--  1 www-data www-data   542 Jul  8 12:56 .htaccess
-rw-r--r--  1 www-data www-data     0 Jul  8 12:56 index.html
drwxr-xr-x  3 www-data www-data    19 Jul  8 12:56 nextCloudAdmin
-rw-r-----  1 www-data www-data 42232 Jul  8 13:03 nextcloud.log
-rw-r--r--  1 www-data www-data     0 Jul  8 12:56 .ocdata
nextcloud app bundle install "github.com:80 violates local access rule"
$ sudo cat config.php
[sudo] password for alexlai:
<?php
$CONFIG = array (
  'instanceid' => 'oc4on7gjio5v',
  'passwordsalt' => 'QATG3ccm14FXIcb49n5MyUjRSscYez',
  'secret' => 'eG+fq7f6B/QlSc2vTquPP2Daarong5A3RA09KtPGtSYmt0E6',
  'trusted_domains' =>
  array (
    0 => 'hc4bookworm.yushei.net:48501',
  ),
  'datadirectory' => '/var/www/nextcloud/data',
  'dbtype' => 'mysql',
  'version' => '30.0.0.14',
  'overwrite.cli.url' => 'http://hc4bookworm.yushei.net:48501',
  'dbname' => 'nextcloud_db',
  'dbhost' => 'localhost:3306',
  'dbport' => '',
  'dbtableprefix' => 'oc_',
  'mysql.utf8mb4' => true,
  'dbuser' => 'nextclouduser',
  'dbpassword' => 'hc4Bookworm.yushei.net#20240708',
  'installed' => true,
  'allow_local_remote_servers' => true, <--
);